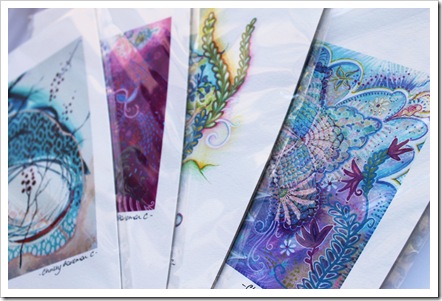
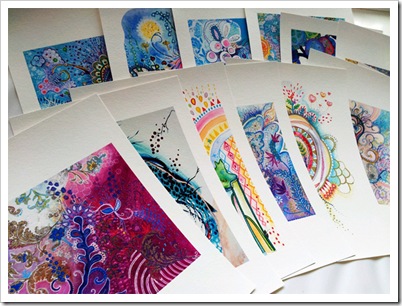
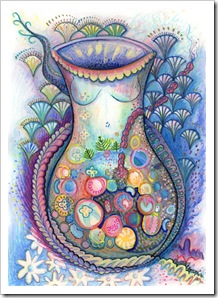
How to make a fine art print ~ Tutorial
I’m often contacted about how I make my original artworks into fine art prints … So, I thought I’d put together a little tutorial about it! It’s by no means the only way to go about it ~ just the way I’ve found works best for me. I hope it’s helpful!
Step 1: Invest in some seriously good quality equipment
First thing’s first – To make your own prints, you have to be at least a little computer savvy. The outlay for setting up your own prints range isn’t cheap at first, but it gives you complete control over what you create and, in my experience, pays off in the long-run. You can print to demand, meaning you waste a lot less products and time. You can create different sizes. You can play with what works best. And it’s like creating a new artwork every time you hit the print button! Fun hey?! So, here’s what you might need …
YOUR PRINTER:
To make your own prints that are vibrant, beautiful and archival quality that will stand the test of time, you need to invest in yourself. Get yourself an amazing printer that takes ARCHIVAL INKS and up to 300GSM paper. For years I've used a Canon Pixma inkjet printer, but I've recently bought an Epson Stylus photo printer which makes awesome, vibrant prints prints which are also waterproof! It’s a personal choice, and most brands will stock a printer model that will suit.
So, here’s my tip: If you get a printer that is custom made to print photographs, you’ll pretty much be on a winner, as the quality will be fine and detailed. Let your supplier know it’s to make art prints and they can direct you to the higher-end of their printer selections.
** Another tip I’ve found really useful is to keep your eye out when shopping for a printer that takes individually coloured ink tanks, rather than an all-in-one. I find because a lot of my artworks are blue, my cyan runs out quickly. The individual ink tanks in my printer enable me to only replace the colour that’s run out – not the whole ink tank combined.
YOUR SCANNER:
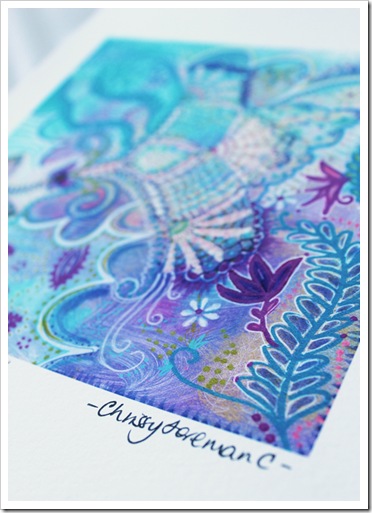
Depending on the size of your artworks, a kick-arse, super high resolution scanner could be your very best friend. I have a CanoScan scanner which is specially made to scan photograph negatives and slides – thus, it has an exceptional ability to pick up the very fine detail in my artworks at mega resolution. So my tip here is to purchase a scanner with extremely high resolution capabilities and, once again, suitable for scanning photo slides/negatives.
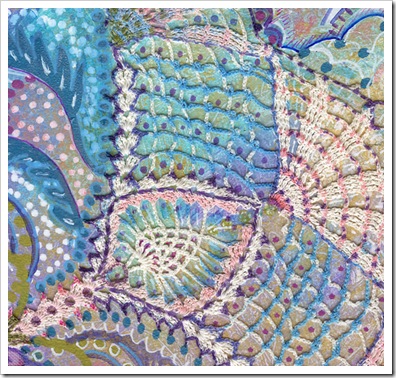
If you do, you’ll be able to pick up intricate detail, such as the individual threads in lace, like this:
Most of my artworks are around 20-30 cms in size so I can get away with using an A4 sized scanner, but you can get bigger ones if your artworks are a little larger. The bigger you go, obviously the higher the price, but the more surface area you have to play with. With my larger artworks, I scan them in sections and stitch the image together in Photoshop. Once I’ve scanned my artworks in, I colour match it to the best of my ability by tweaking the scan levels, colours and vibrancy in Photoshop. I scan my prints at 400DPI. You can see the difference in detail below between scan (left) and camera (I’m really not that great with photography though!).
YOUR CAMERA:
Sometimes, especially if you make larger artworks, it’s worth investing in a digital SLR. I’ve recently bought a Canon EOS1100D and it’s very rad! They are pretty pricey, but it’ll last you for years, and not just for your artworks.
If you’re going to photograph your own artworks, I’d suggest enrolling in a little photography course to at least learn the basics. A crap photo will produce a crap print, so it’s important to know how to use the best lighting and conditions to take a photo. No one wants to buy a shadowy, ill-lit art print. I wasn't confident enough to photograph my own artworks to the quality I want to provide my customers, so I got them done professionally to ensure an excellent image quality for my customers. I still use my camera for photographing the dimensions of my artworks etc for my online shops on Madeit and Etsy.
Step 2: Find a suitable print surface
YOUR PRINT SURFACE:
Whether you’re wanting to make prints on paper or canvas, you’ll want to do your research to find an archival quality print surface that will suit your artwork style. Textured papers suit my artworks best because of the textured detail in my original artworks – I’ve tried printing mine onto smooth archival paper and it ‘flattens’ my works greatly. However, I have a friend who is a digital illustrator and her artworks suit a smooth surface perfectly.
There are plenty of archival papers on the market and I have to say, that from my experience, spending the extra money to get specialised artist’s fine art paper, such as Hahnemule paper, is well worth it. I use the Hahnemule ‘Sugar Cane’ paper – both for its thickness, texture and quality … and because it’s made using renewable materials, enabling me to be as eco-conscious as possible in the creation of my artsy merchandise.
Hahnemule does make a sample pack of art paper with a bunch of different sheets inside – smooth, textured, thin, thick, bright white, cream etc. This is a great investment for you to have a play with what suits your art style best. And make sure that the paper you purchase is compatible with the printer you choose. Some brands have their own specialised papers, so do your research and try some samples. I found this tip awesome when I first started out.
I haven’t printed my own canvas prints yet – I outsource to a supplier for this – but there are archival quality canvas sheets for home printers available. Just google it.
Step 3: Package & Post your works
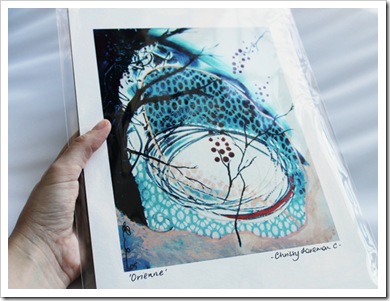
Just a quick note on this – Whatever you choose to package and display/post your artworks in, must be acid free or it will affect the life of your prints. I package my paper prints in a acid-free cello sleeve, backed with a thick piece of card for durability. I also pop a little complimentary blurb about the artwork and my business card at the back for my customers to refer to later.
Prints on canvas sheets can be rolled in a tube and Framed canvas prints will need to be secured inside a durable, pierce-proof package such as core flute or thick cardboard. Whatever you choose, MAKE SURE IT’S WATER-TIGHT! No one wants to receive a soggy art print. I double wrap my prints in another layer of cello to ensure they arrive safe and sound. Ebay shops are great for packaging supplies.
With postage, make sure your prints won’t bend. I use thick, rigid cardboard mailers with a DO NOT BEND sign on the front, which I buy from Officeworks. The specific ones I use are here and they’re available in different sizes.
***
Anyhow, I think that’s about it for now, although I’m sure there’s loads of other stuff I haven't even mentioned, such as uploading suitable images for your prints in your web shop. But there’s heaps of tutorials out there to help you with that kind of thing! Lots to think about, but I truly think that doing a job properly with the best quality products will ensure you customers are happy, tell their friends, and come back for more. If you’re not confident, just outsource the work to a professional. You’ll only get repeat business if your customers are satisfied with the impeccable quality of your works.
So, that’s it! Please feel free to pop over to my shops to check out more ideas on how I display my artsy goodies.
I hope this has been helpful – if it has, let me know, I’d love to see what you make from it!
Love Chrissy x

